Simple Leather Field Notes Cover
One of the reasons I wanted a glowforge was to get into some basic leatherworking. I bought 25 sqft of leather from tandy leather around Seattle for $5/ft. About half of it is this amazing material. It’s got a gorgeous dark color that looks between green and dark brown depending on the light. I had to use it on something immediately.
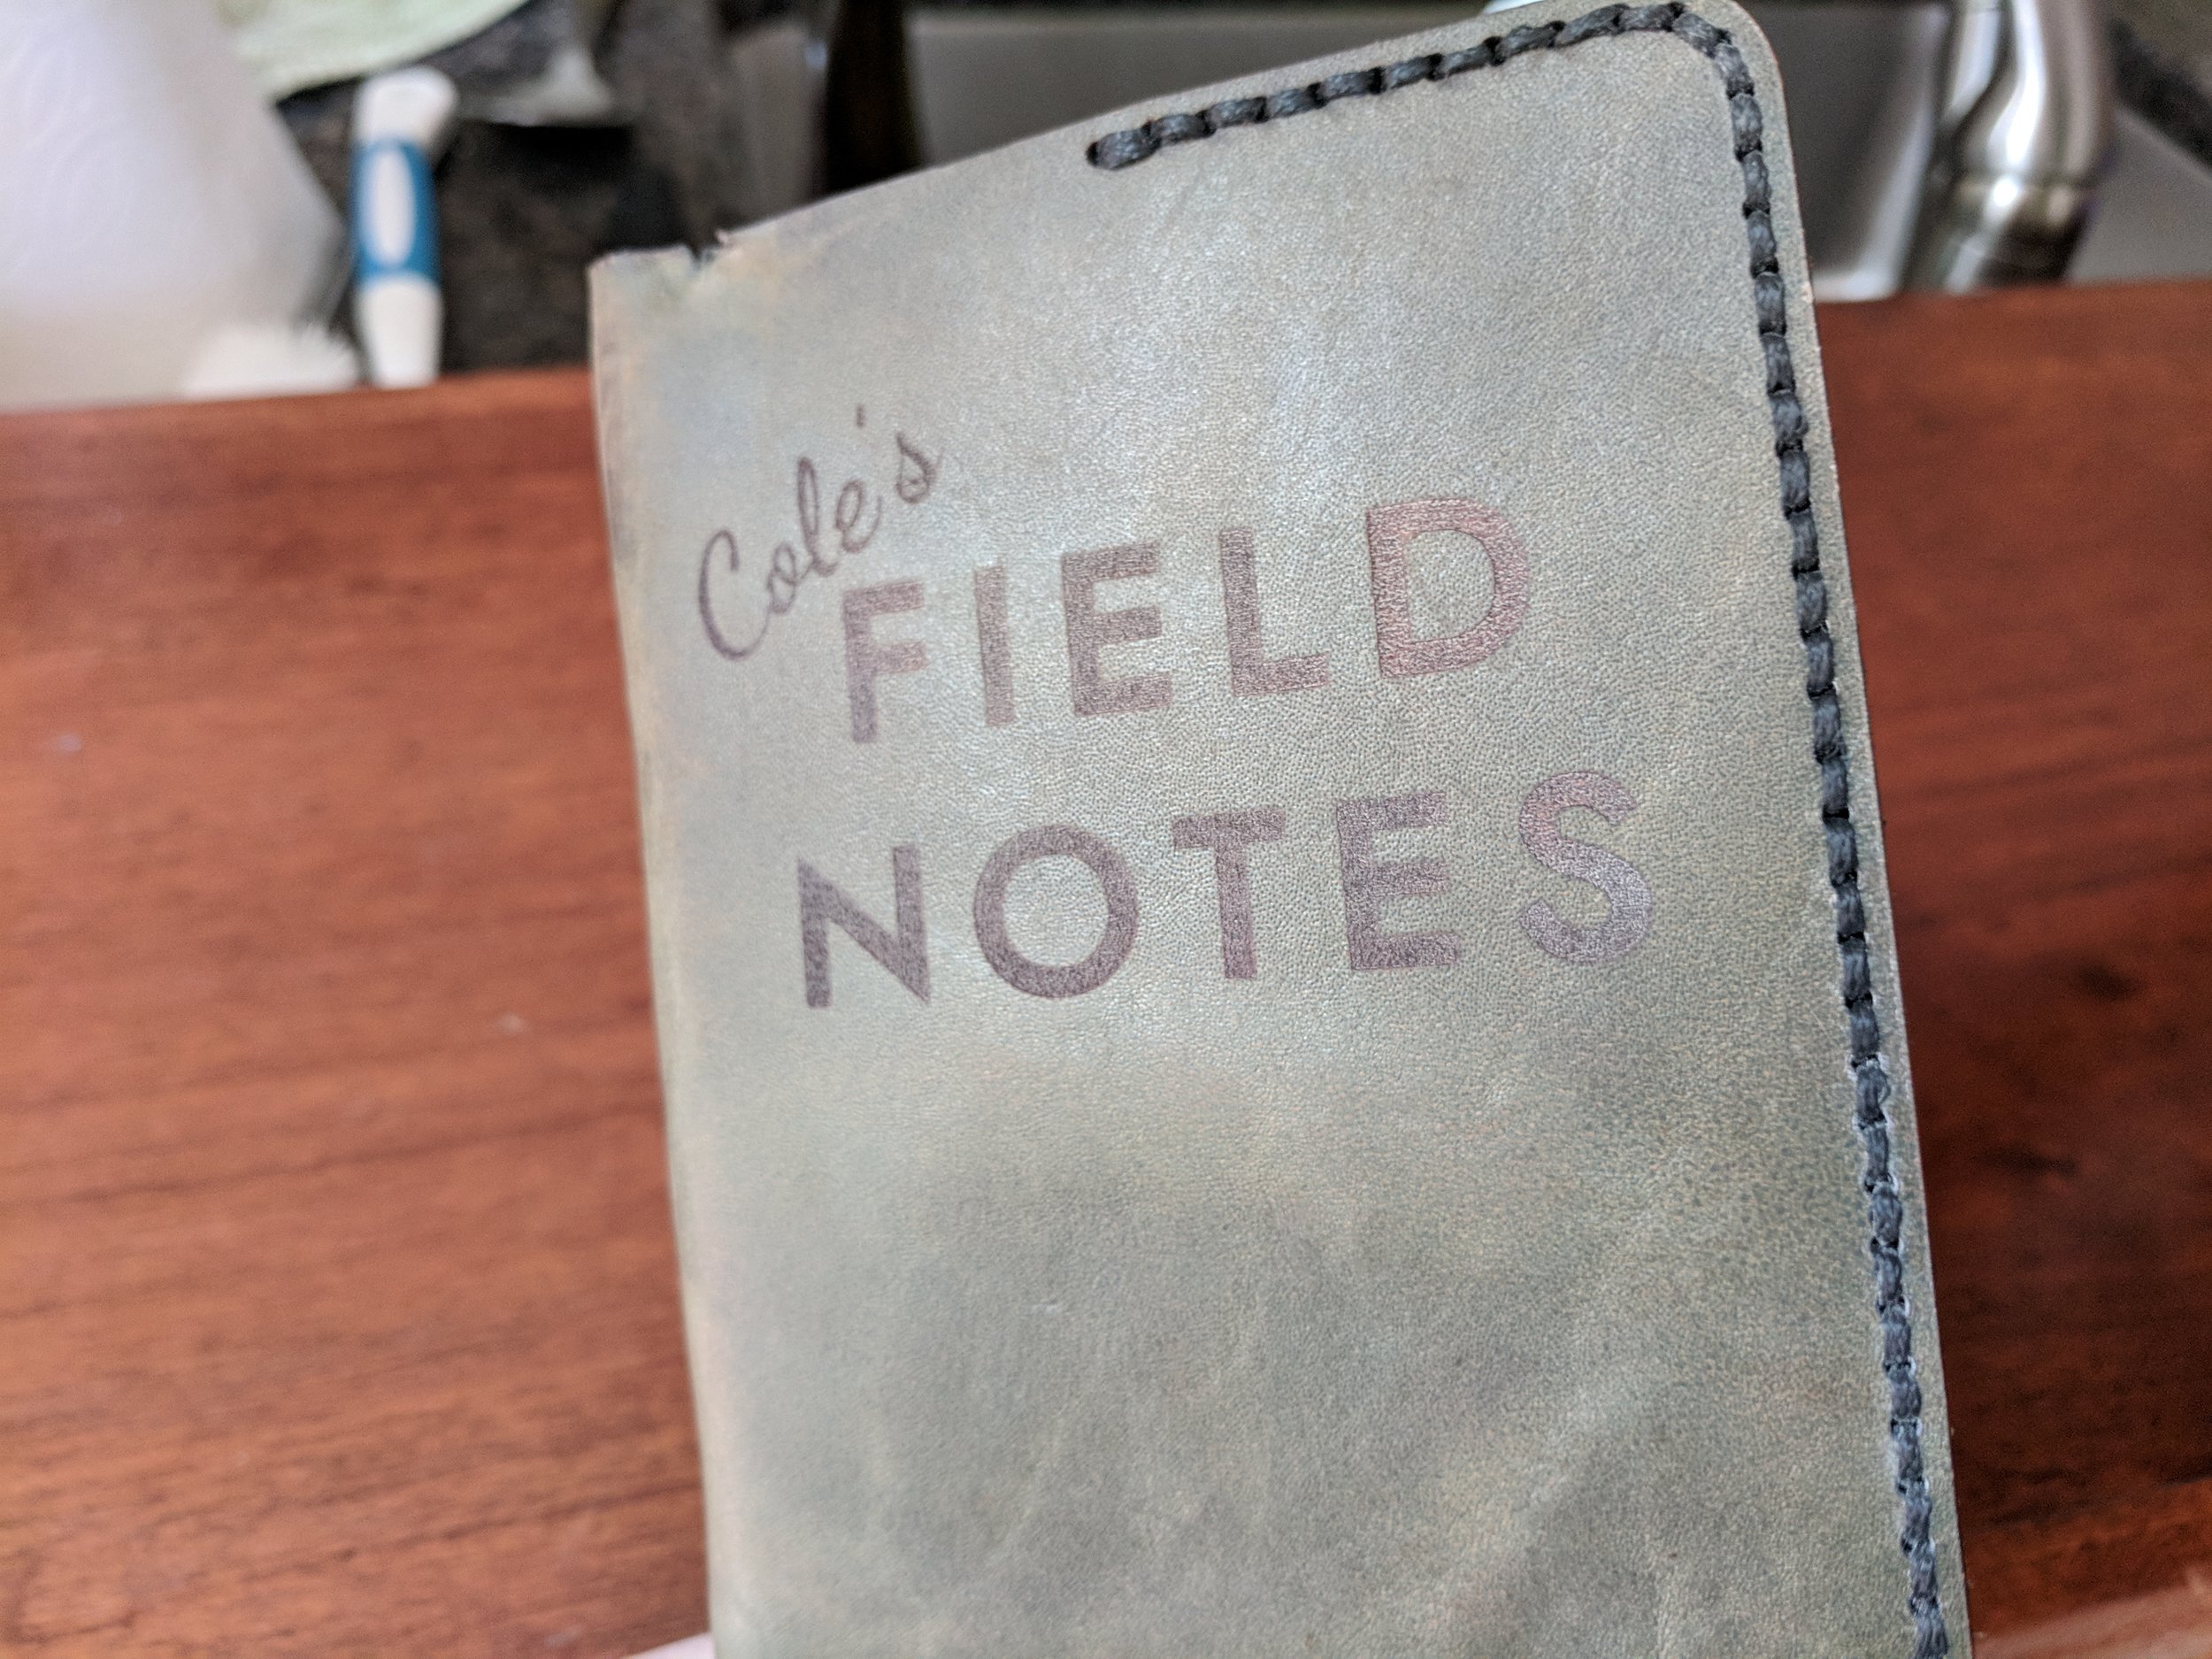
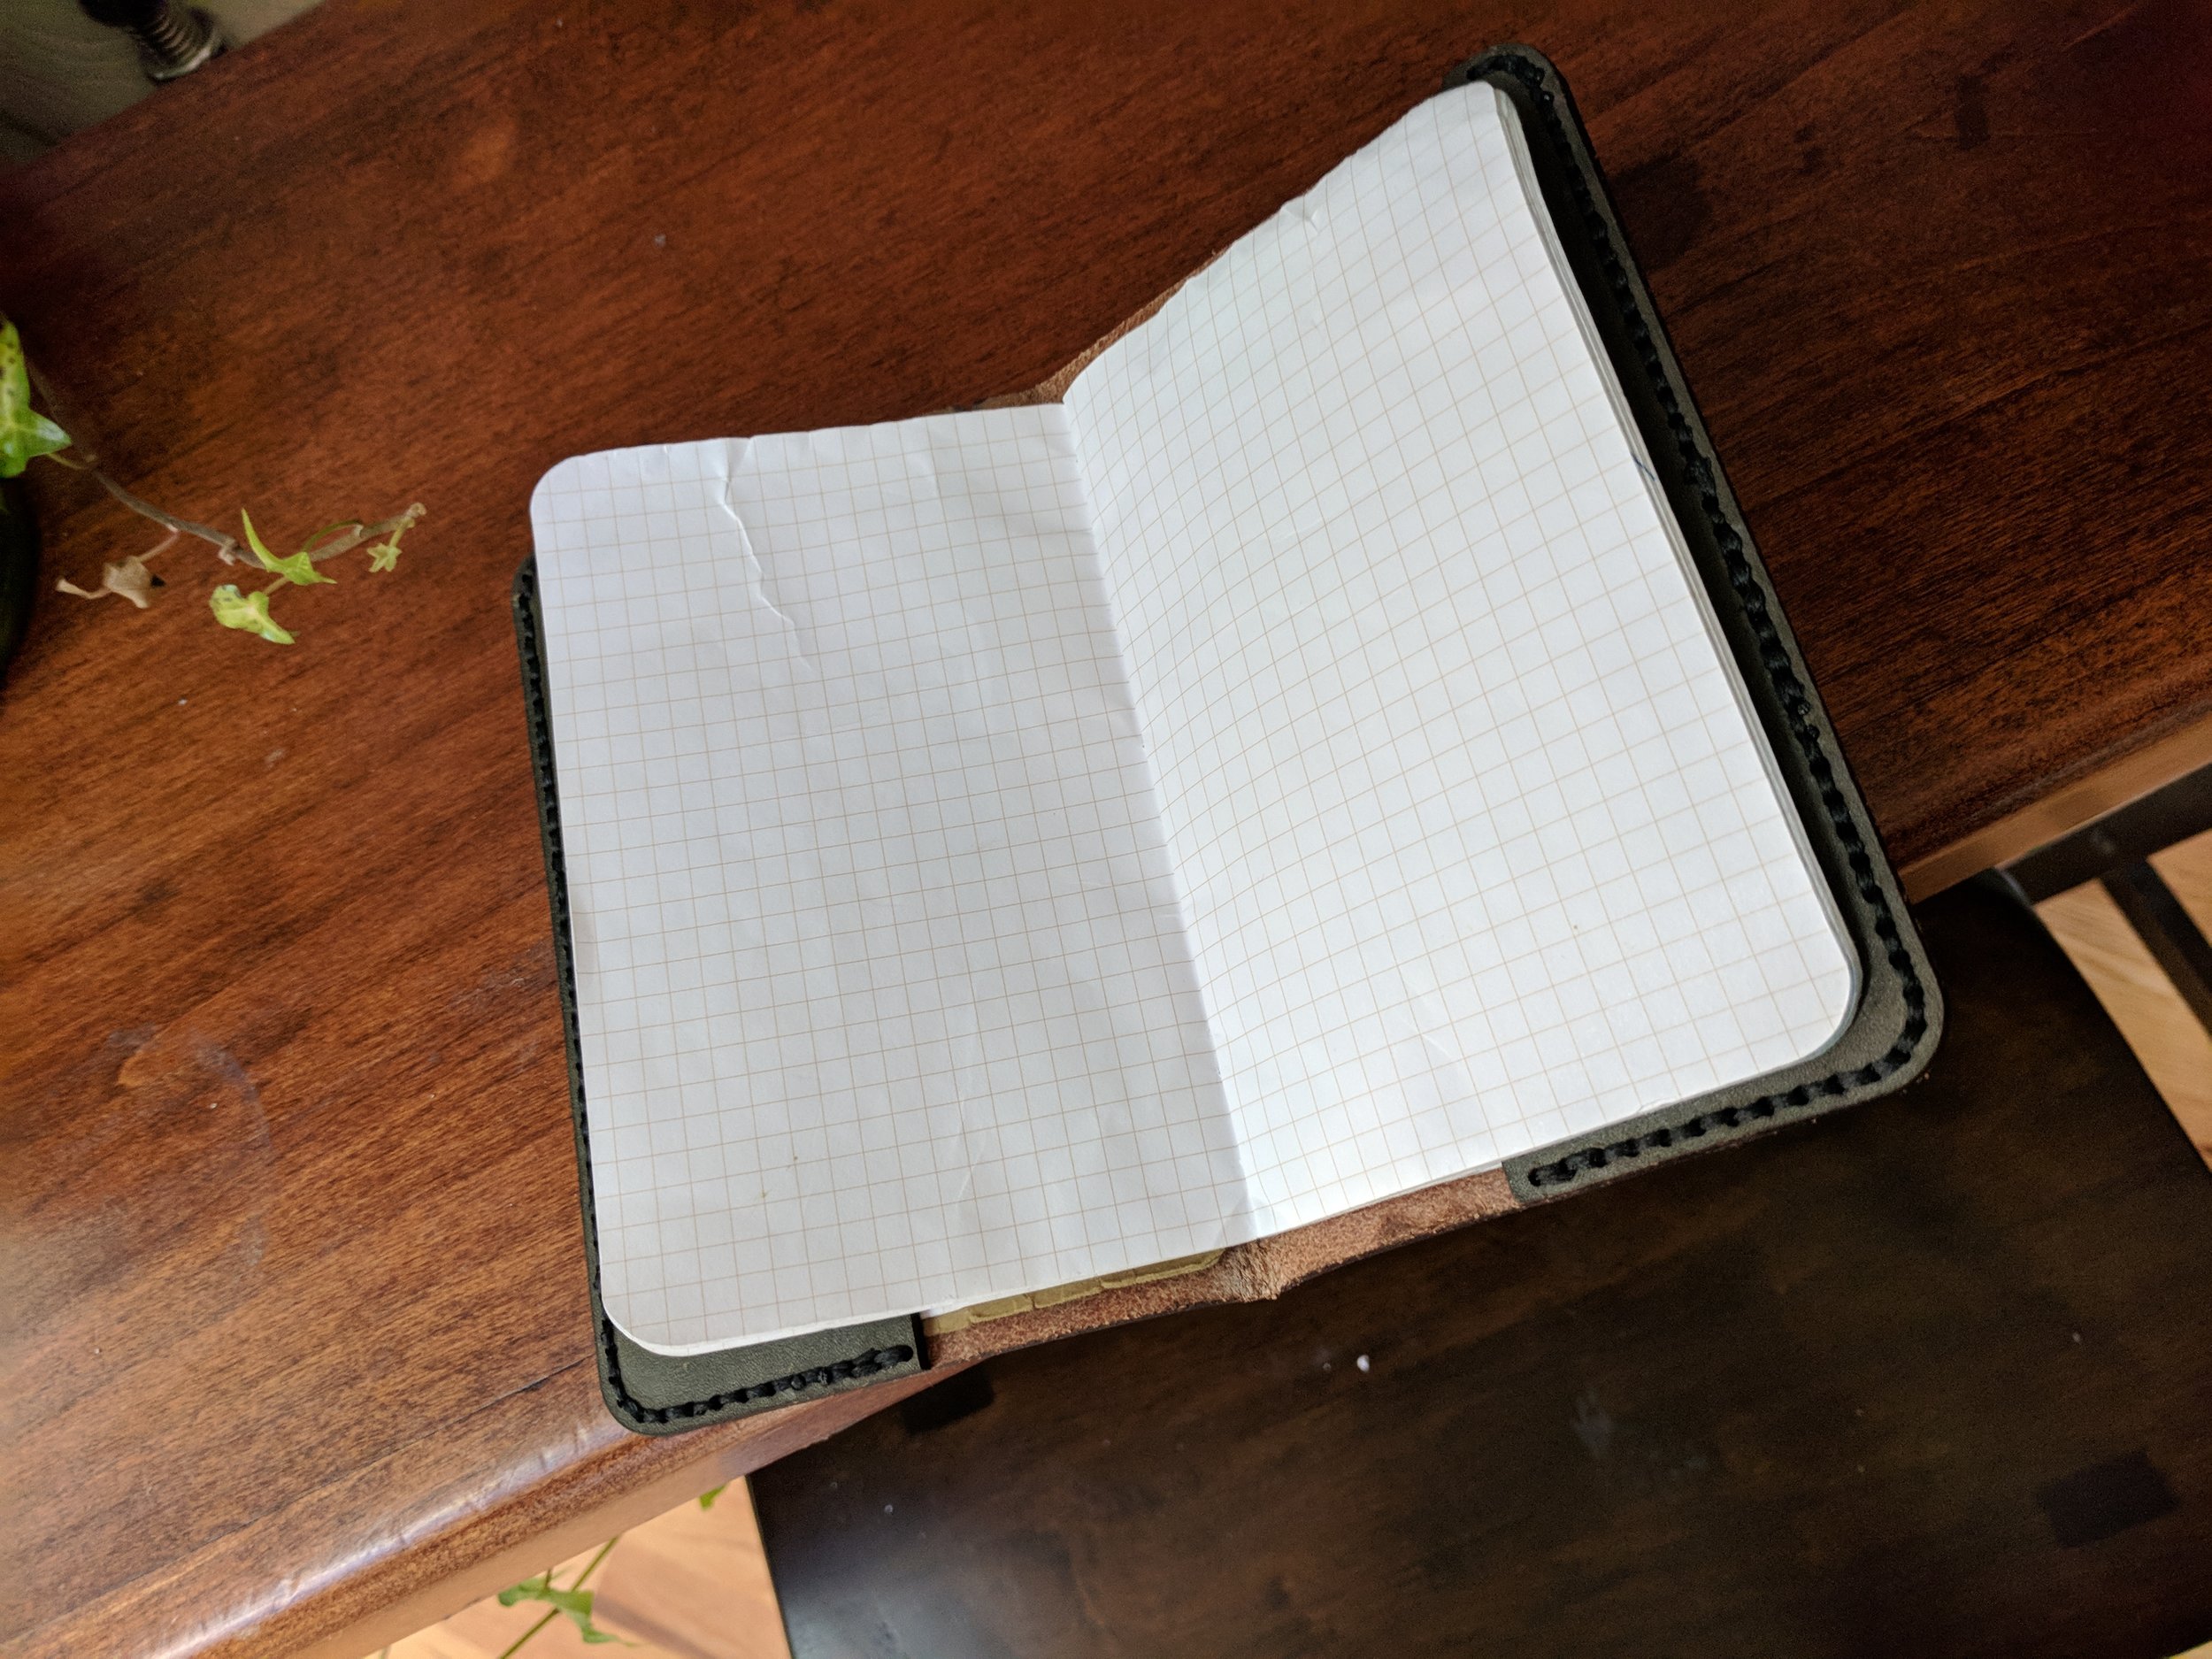
I grabbed this simple leather cover from instructables. Like field notes, I wanted to keep it fairly basic, but I wanted a small personalization so people know I made it . So I went to add a bit of personalization to engrave on the front. Field Notes seems to use futura font, which runs $29 /variant. I found one that is basically a modernization of the 1927 futura called Renner (after futura’s creator) which had an OFL (Open Font License). It’s not exact but it’s close enough. I went with the bold, but probably shoulda gone with the black. The kerning I adjusted by eye, and again it’s off by a bit, but nothing noticeable unless holding the two side by side. For my name I went with something that looks somewhat similar to my writing if I didn’t write so poorly - Dancing Script.
Being that this was my first leather project, I was ready for some mistakes. While trying to mitigate them, I made my first. I wanted to minimize the amount of wasted material, so I squeezed the pattern in very tightly, knowing that it would be hard to compensate for the offset. The the result was a small defect in the leather being included in the top left corner, and cutting off a bit from one of the bottom corners, giving 2 bad stitching holes. I decided I’d work with it so I went to fold it.
I wet the leather where I wanted the crease and then folded it into place. I wrapped a too thin layer of paper towel around the leather and used my plastic clamps to squeeze the fold. I should have put some wood in between to ensure an even press cause certain parts of the leather weren’t clamped and don’t fold the same. The clamp also dug into the leather and left some marks, but I’m hoping they’ll wear out over time. Next up is stitching.
I decided to do a saddle stitch after watching these two videos:
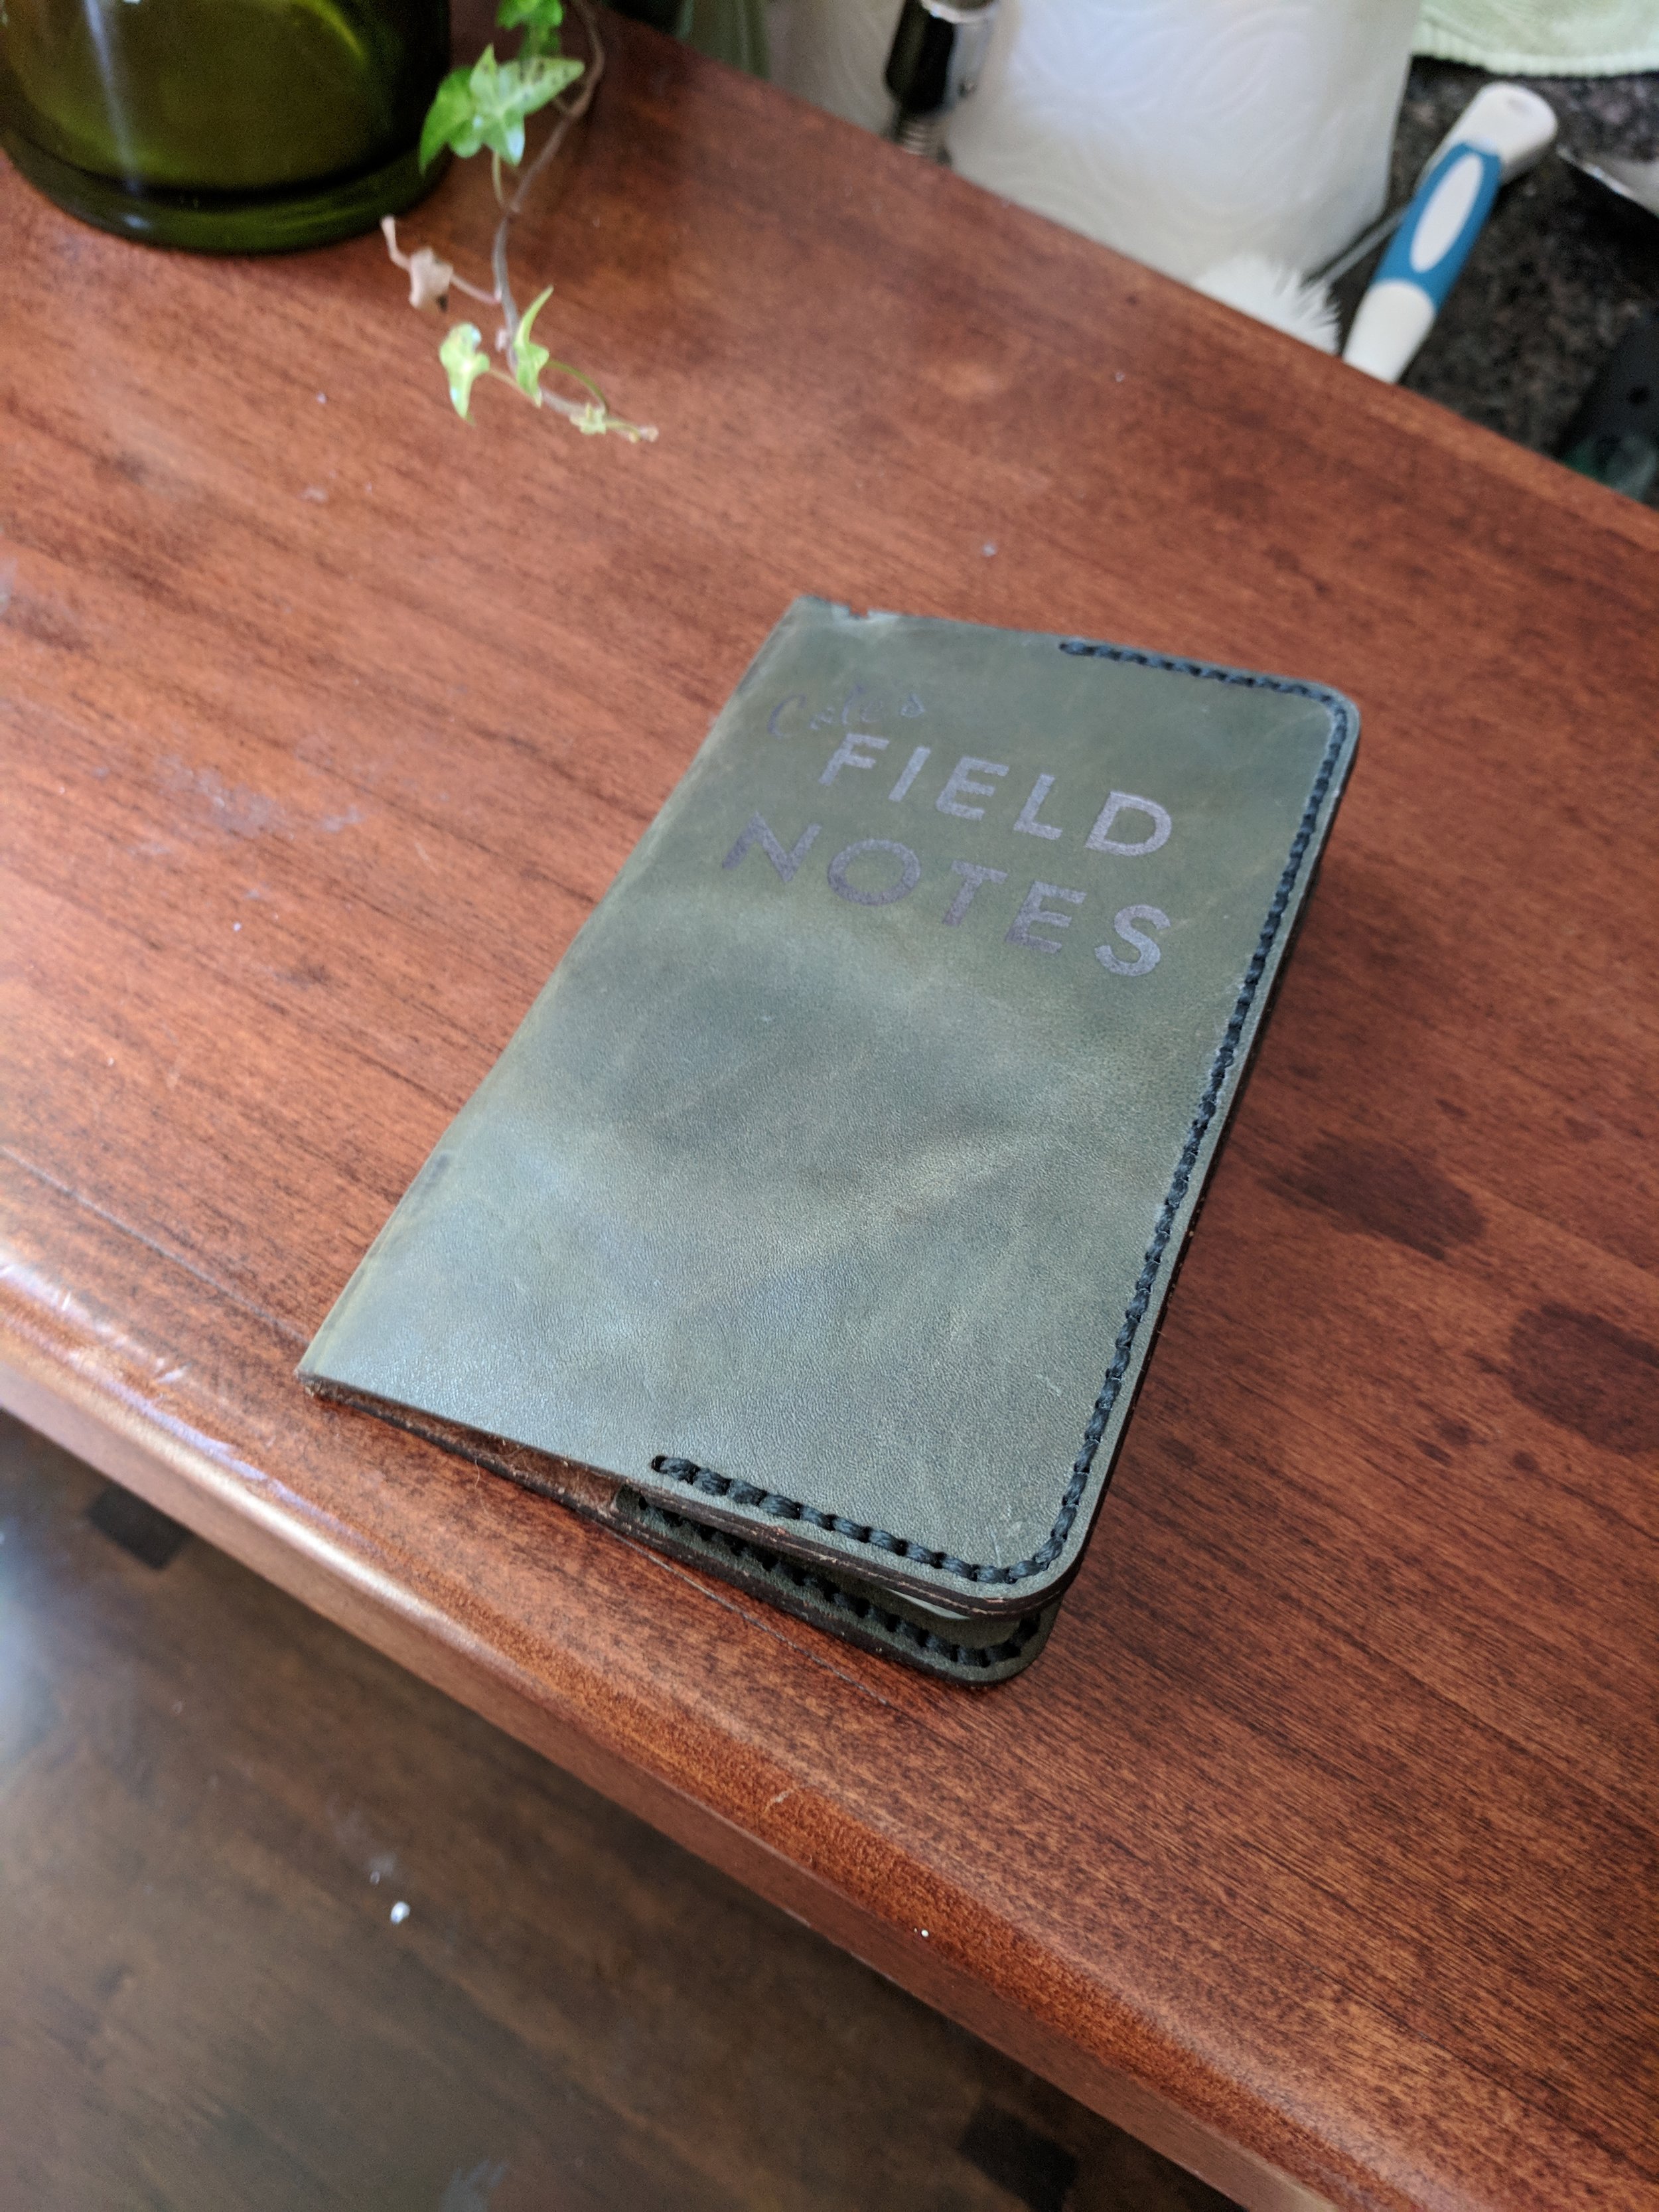
I purchased white and black stitching leather and decided to go with black on my first go with the expectation that it wouldn’t look so great, so might as well blend in. I think I did a decent job actually, though there are definitely improvements to make. I measured out thread the length of what I wanted to stitch and then tripled it. That only got me through probably 40% of the stitching that I measured out, so I had to restart it. If you look closely enough, you can see the 6 backstitches from the start and restart in the middle of the back panel.
Shortly after that my wife picked it up to help out while I held our baby. Confused by the 2 needles, I briefly explained the saddle stitch to her and told her to be careful to not split the thread. Well she denies it, but she split the thread on that same back panel (on the inside). She’s also a veterinarian, so she finished off the stitch with a suture knot. I undid that and finished it with the backstitch and melting of the wax thread as shown in the 2nd video above.
When I went to stitch the front panel on, I got what I thought was too much thread (5 or 6 feet). Halfway through I got worried I wouldn’t have enough. I don’t know how I ended up doing it, but I finished the work off with just 2 or 3 inches of thread left. I literally couldn’t add any more stitches because the needle was longer than the thread left. (I know I could thread it with the needle going through, but you get the point).
I split the thread probably 4 or 5 times, but pulled the culprit back out as I caught it immediately after doing it. It was a pain every time it happened, but I’m glad I did it.
After stitching I decided I wanted to engrave it. I’m happy with how I placed the design, but it’s not super visible (being dark on dark). That’s ok, I like subtlety. To place it, in Illustrator I added a red rectangle in the dimensions of the cover folded in half. I placed the engrave relative to this rectangle in the design. Then I placed a cardboard sheet in Gary (the forge) with some of these magnets holding it down (with the eyelets removed cause they’re too tall), cut the red rectangle while ignoring engrave, removed the cut rectangle without moving the rest of the cardboard, placed the folded cover in the resulting hole (tight squeeze), masked with transfer tape over the cover and sticking it to the cardboard around the cover to help hold it in place, and then engraved. I took advantage of the newly increased .5" limit because this leather is so thick, after 4 layers it’s pushing the limits of what I could do with the crumb tray in. The masking tape helped hold the cover down and in place, but it didn’t stick very well to the leather. I lost the inside of the O and some other pieces to the exhaust fan. I hope they made it all the way outside and aren’t stuck somewhere in the machine.
So some basic lessons learned from my experience:
Use a lot more thread than you think you need when stitching leather
If you make a mistake, fix it.
Stitching leather is harder on the hands than I realized. Pliers are helpful.
So long as I’m not selling these, be happy with the unfixable mistakes. They add character, uniqueness, and a story to be told.
Tandy leather is great. I joined their gold club to get discounted prices as I plan on going back.
I bought some delrin and have some proofgrade acrylic. I’d like to try tooling next time.
OFL fonts are great
If anyone is still reading, thanks for taking the time. Finally, here are the pics!