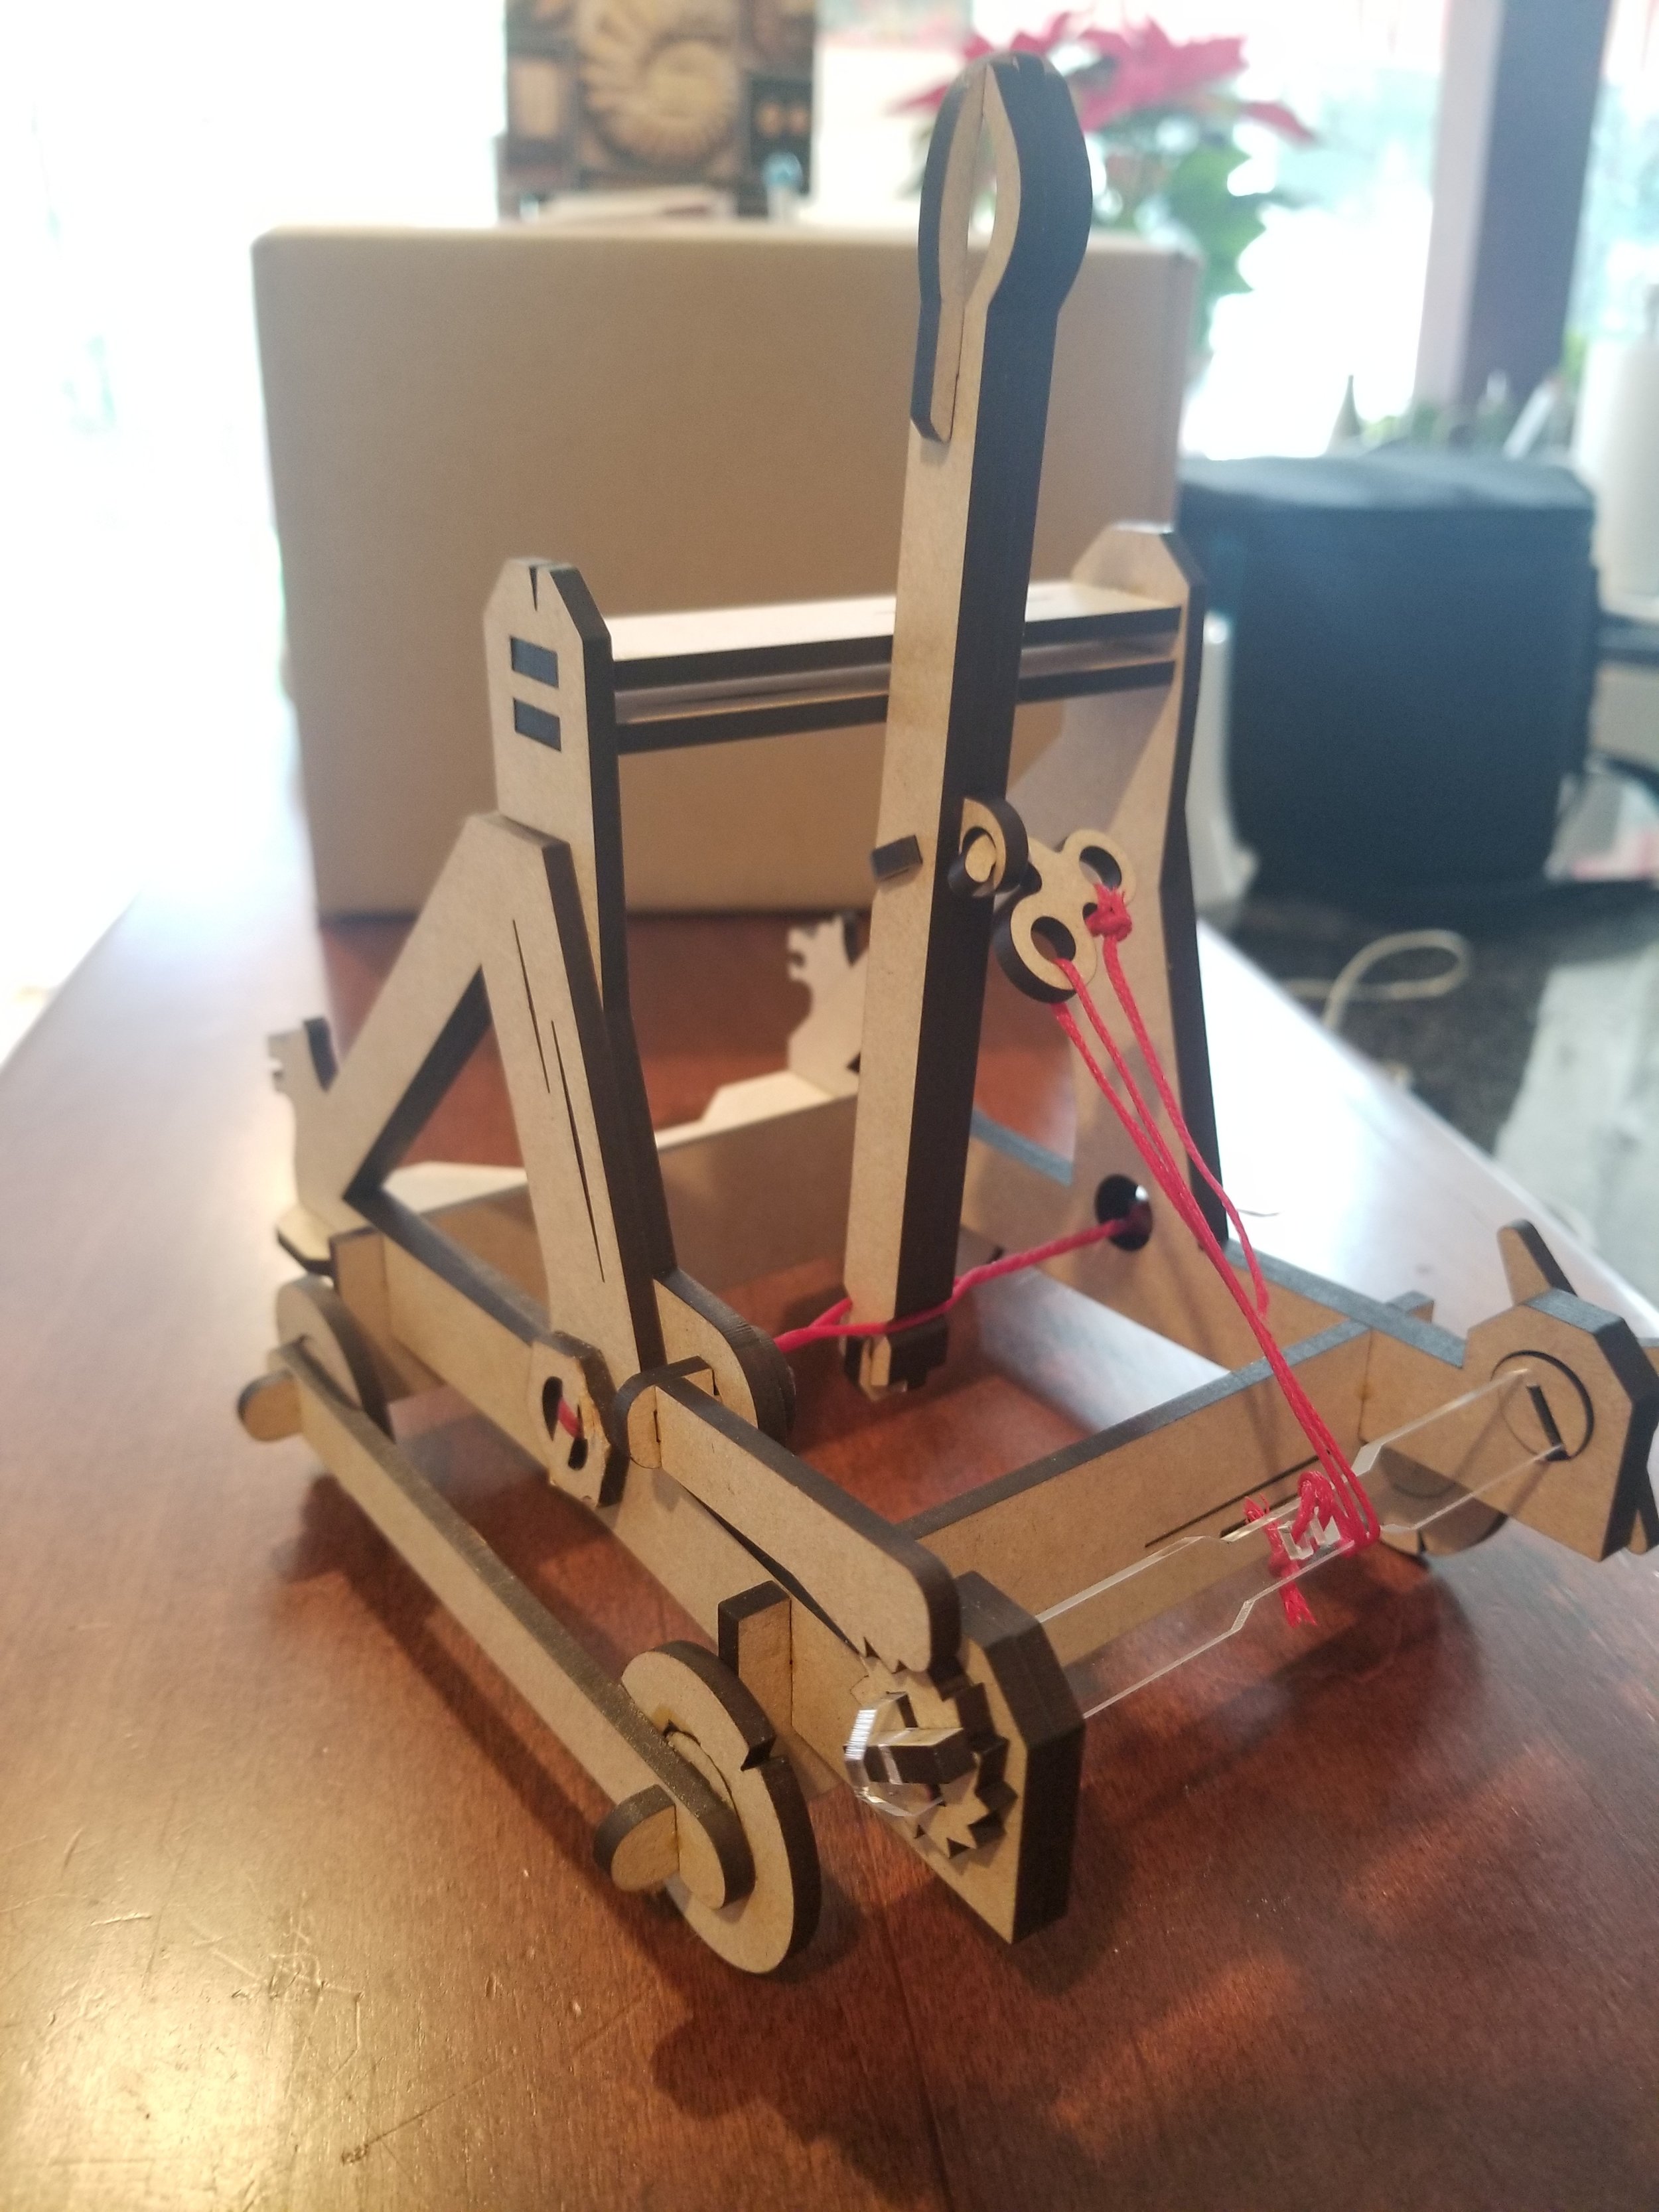
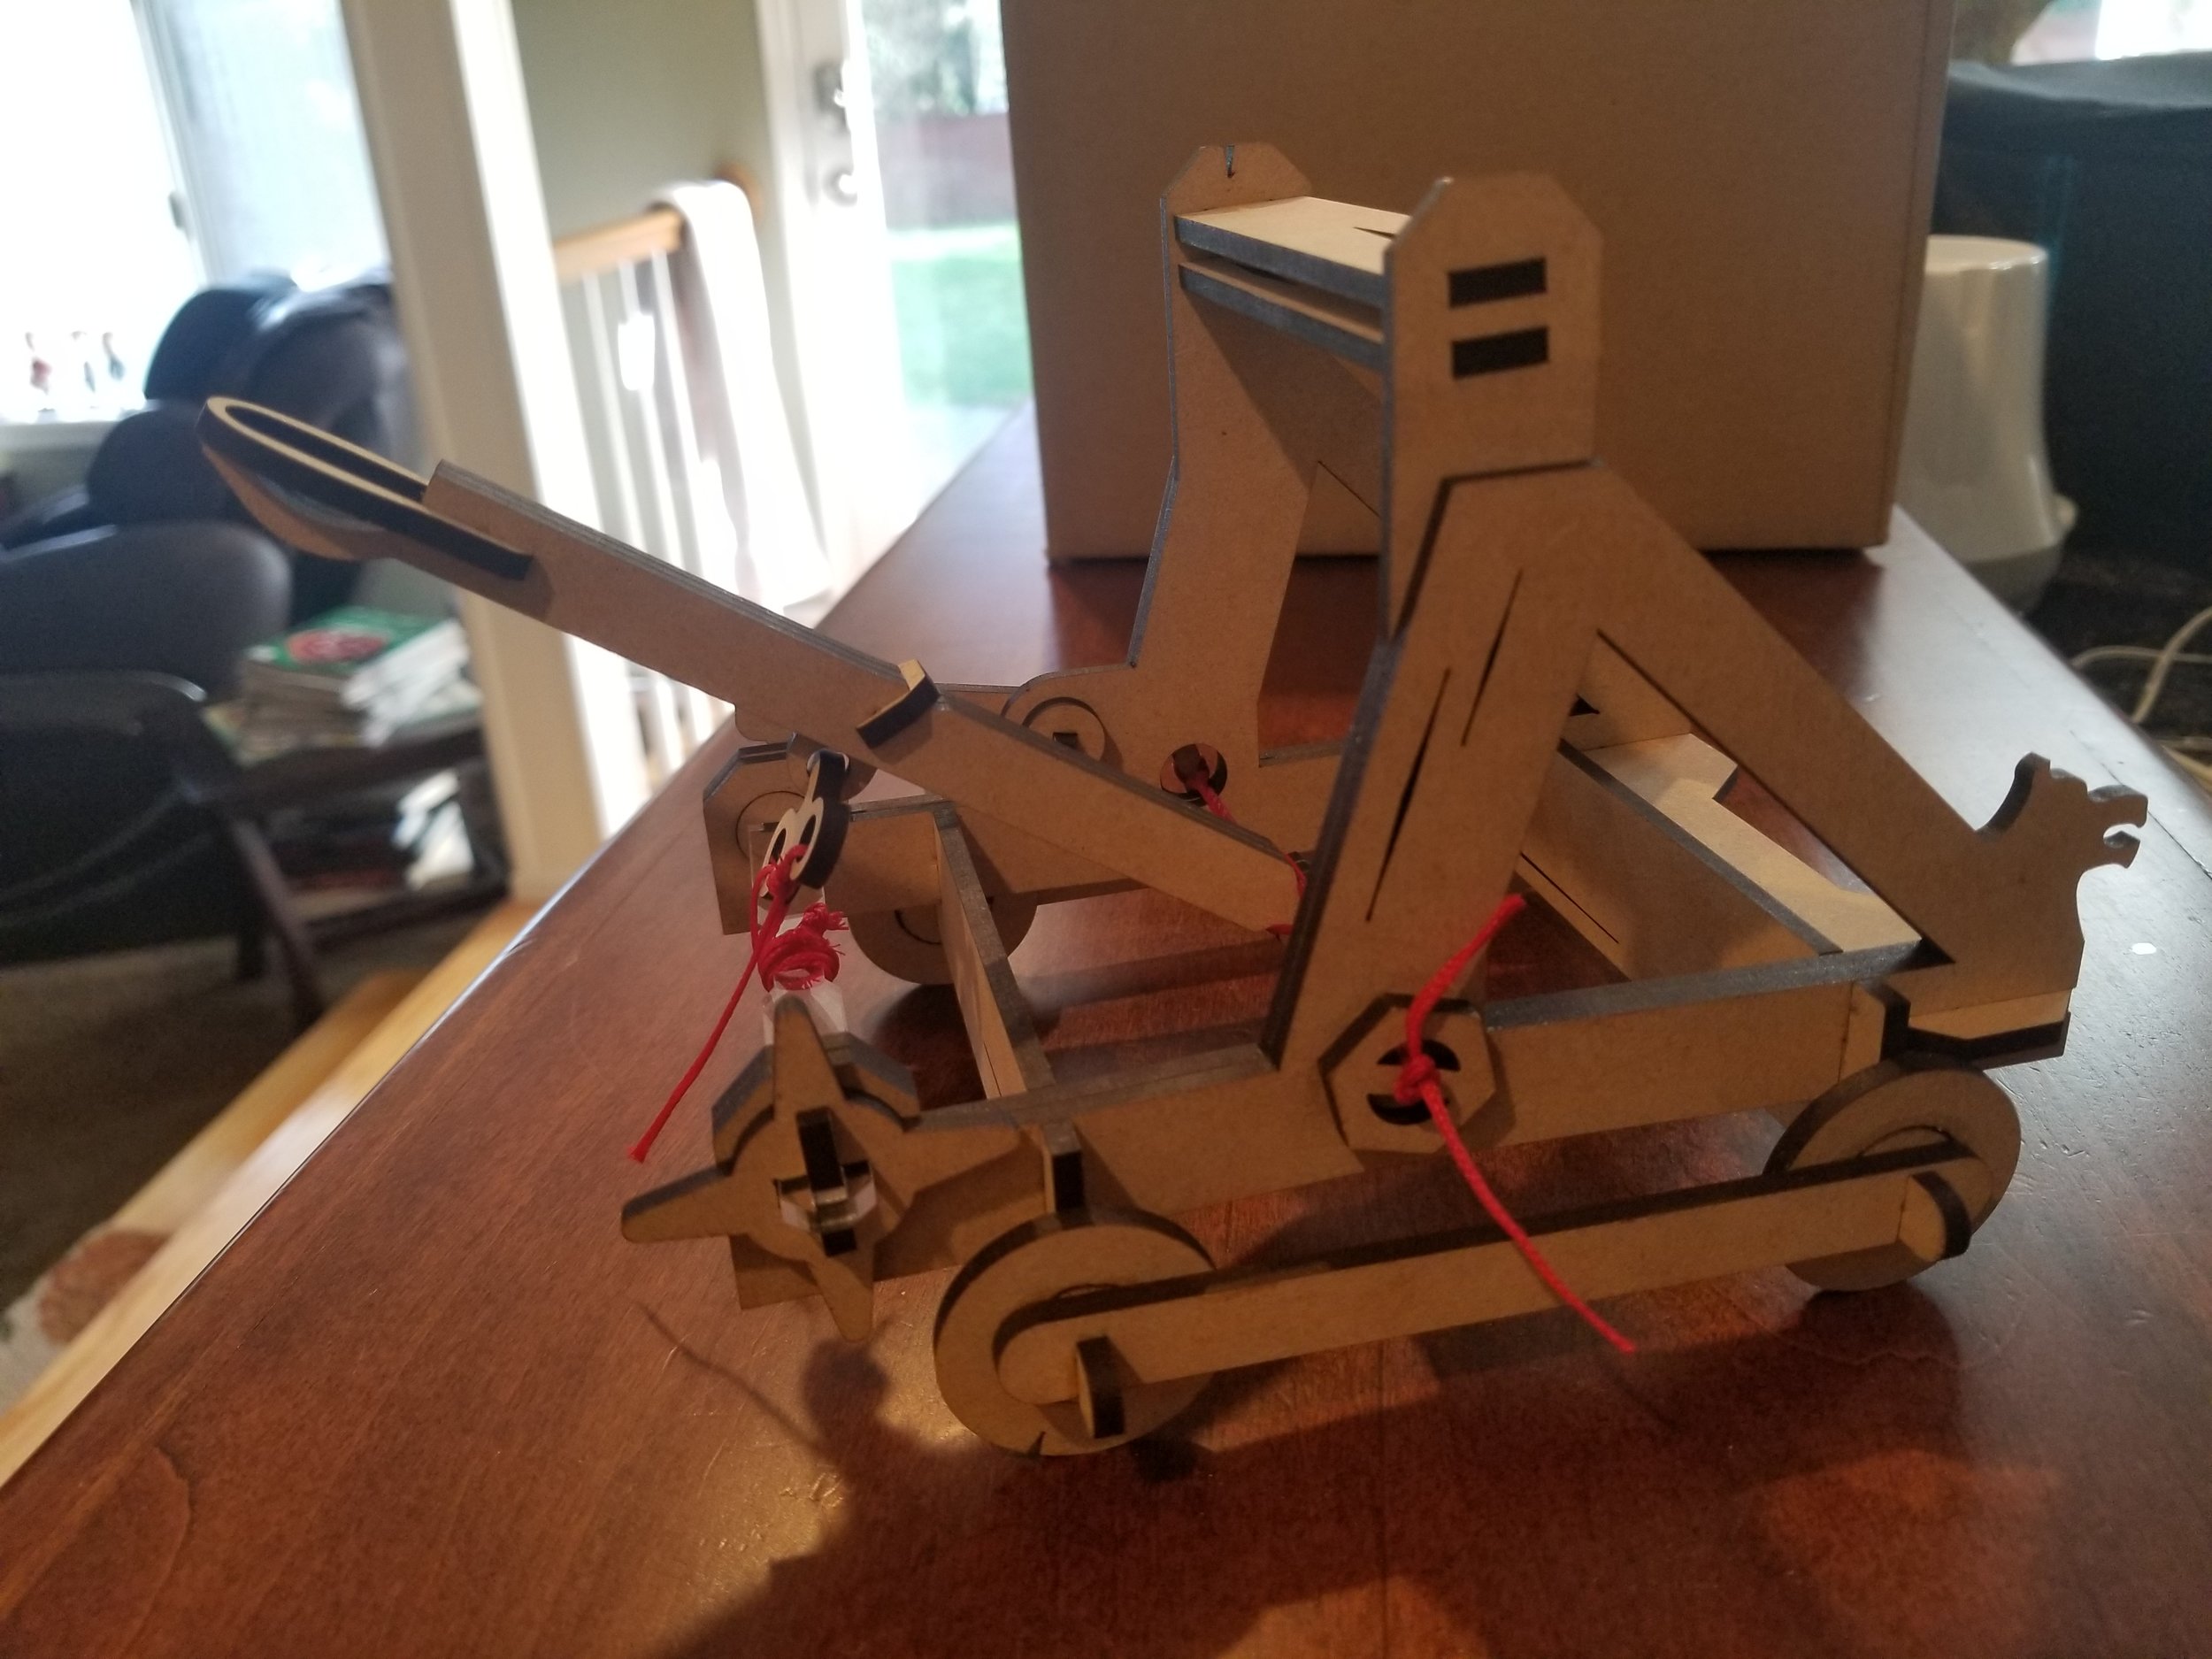
Endwood Castle Catapult
I made the Endwood Castle Catapult from MakeCNC. I put the entire piece together with no glue first (sans the stringed pieces) in order to get a better idea of which pieces would need to be glued, which needed to be free moving, and just how everything would piece together. The instructions provide call outs on which pieces need to be glued, but I found one part where I would've incorrectly glued one of the pieces in place, so I recommend this approach if you choose to make the pattern yourself.
The wheels seem to be meant to be free moving. The center piece that is cut from the wheels is used as the axle for the wheel to spin on. Unfortunately the model doesn't have adequate support for the wheel to have a stable spin on the axle, so I just glued the wheels in place to keep things firmed up. I made my string binding very tight (using some pliers to turn the spokes). This results in the piece bowing a little in the middle where the string binds it, but also gives a good strength and range to the catapult. It also resulted in the back axle that pulls the catapult back breaking on me. The piece is quite thin in the middle and when cut out of MDF it didn't have the strength to hold up to my tight bind on the arm. I recut the part in acrylic and haven't had any issues since.
The model shown here is made out of plain MDF. I may recut it in a nicer hardwood plywood some time, but I think even the MDF shows the model well and functions well. For the string I used some waxed thread that I use to stitch my leather projects. It's sturdy and has a good thickness to it. Leave a comment if you're interested in buying a kit to put together yourself and I may add an item on the shop. It'd be my first physical item to sell, so I'd like to gauge interested first.